
Anúncios
Trekking poles can look like an optional extra, but many hikers who try them never go back.
Used well, they add stability on rough ground, spread some of the work to your arms,
and take some of the strain off your knees on long descents.
Anúncios
Used badly, they clatter, trip you up and tire your shoulders.
The difference comes down to a few simple adjustments and techniques, which you can learn in a single afternoon.
What Poles Do for You
Poles give you two extra points of contact with the ground.
That extra support helps most on uneven terrain, loose rock, slippery mud, snow and stream crossings, where a stumble is more likely.
- Balance: Poles catch small slips before they turn into falls, especially when you carry a heavy pack.
- Descents: Planting poles ahead of you on the way down lets your arms absorb some of the impact that would otherwise go through your legs.
- Climbs: Pushing off with your arms shares the effort of lifting your body uphill.
- Rhythm: A steady pole swing helps you settle into an even, efficient pace.
- Extra uses: Poles can probe snow and water depth, and some lightweight shelters use them in place of tent poles.
Choosing Poles That Suit You
Most hiking poles are adjustable, which lets you change the length for different terrain and share them with others.
Telescoping poles slide into themselves in two or three sections,
while folding poles collapse into a compact bundle that is easy to stow on a pack.
Fixed-length poles are the simplest and lightest, but they need to be bought in the right size.
Weight matters more than you might expect, because you lift and swing each pole thousands of times on a long hike.
Lighter poles feel livelier in the hand, while slightly heavier ones are often more durable.
Look closely at the locking mechanism, since it is what holds your weight.
External lever locks are easy to adjust with gloves on and simple to check at a glance.
Grips come in foam, cork and rubber; foam and cork feel better in sweaty hands, while rubber suits cold weather.
Hard metal tips bite into dirt, snow and ice, and removable rubber tip covers reduce noise and wear on pavement and bare rock.
Set the Right Length
Start on flat ground.
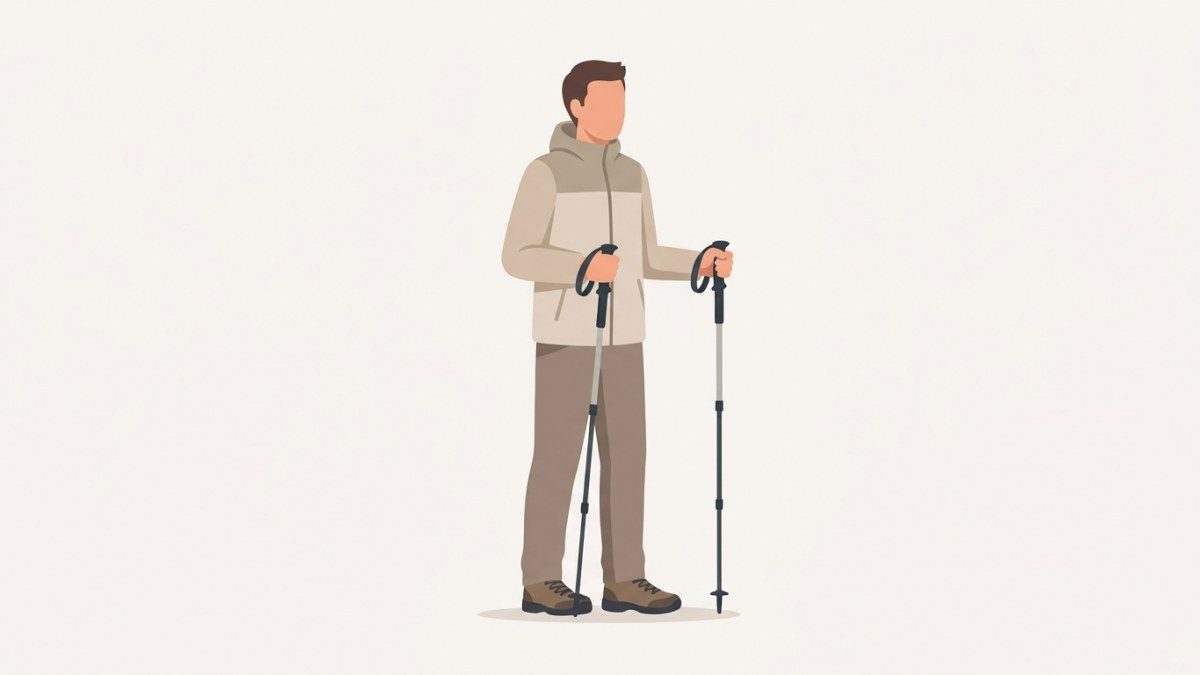
Stand upright in your hiking shoes, hold the grips with the tips on the ground beside your feet,
and adjust the length so your elbows bend at roughly a right angle,
with your forearms about parallel to the ground. That is your base setting.
Then adjust for the terrain:
- Long climbs: Shorten both poles by a few inches (several centimeters) so you can plant them without lifting your hands too high.
- Long descents: Lengthen them by a similar amount so you can reach the ground below you without hunching forward.
- Traversing a slope: Shorten the uphill pole or lengthen the downhill one, or simply grip the uphill pole lower on its shaft.
Adjustments take seconds, but many hikers skip them.
If your shoulders feel tense or you are reaching awkwardly, the length is probably wrong.
Many adjustable poles have length markings on the shaft, so note your favorite settings and you can return to them quickly.
Use the Straps Correctly
Pole straps are not there just to keep you from dropping the poles.
Used properly, they let your wrist carry part of the load, so you can hold the grip lightly instead of squeezing it all day.
- Adjust the strap so it forms a loop just large enough for your hand.
- Slide your hand up through the loop from underneath.
- Bring your hand down and grip the pole, with the strap running across the heel of your palm and between your thumb and index finger.
- Tighten or loosen the strap until you can press down on it without gripping hard.
There are times to take your hands out of the straps completely, including stream crossings, steep scrambles and anywhere a fall is possible.
If a pole gets stuck between rocks or pulled by a current,
you want to be able to let go instantly rather than have it twist your wrist or drag you off balance.
Walk With a Natural Rhythm
On gentle terrain, poles should move in the same pattern as your arms when you walk.
As your right foot steps forward, the left pole swings forward and lands roughly beside it, and then the pattern switches.
Push back gently as you walk past each planted tip.
Keep your grip relaxed and your shoulders loose.
The poles should feel like part of your stride, not something you are dragging or stabbing at the ground.
On smooth, flat stretches, it is fine to carry them or let them swing lightly.
Technique for Climbs and Descents
Going Up
With your poles shortened, plant them close to your body and push down and back as you step up.
On steep steps, try planting both poles at once and pushing up with both arms as you step.
Keep the tips from landing far ahead of you, which forces you to pull rather than push and wastes energy.
Going Down
With your poles lengthened, plant them slightly ahead of you and let them take some of your weight as you step down.
Keep your knees soft and your steps short.
On big step-downs, planting both poles below you first gives you a stable brace.
Avoid hanging your full weight on the poles, though, since a slipping tip can pitch you forward.
Handling Tricky Terrain
At stream crossings,
take your hands out of the straps and use the poles to probe depth and brace against the current,
moving one point of contact at a time.
On snow, fit larger baskets so the tips do not sink too far.
On smooth, wet rock, test each plant before trusting it, since tips can skate out from under you.
When a scramble needs your hands, collapse the poles and strap them to your pack. Be mindful of others, too.
Carry poles with the tips pointing down in crowds, and keep them from swinging behind you where they can catch someone.
Stay on established tread, since pole tips can damage fragile plants and soil.
Frequently Asked Questions
Do I need one pole or two?
Two poles give balanced support and a natural rhythm, which is why most hikers use a pair.
A single pole or hiking staff still helps with balance and stream crossings, and it leaves one hand free for photos or scrambling.
Will poles make my legs or balance weaker?
Poles are a tool, not a crutch.
If you want to keep your balance sharp, hike some easy stretches without them,
and save them for the places they help most, such as long descents and rough ground.
How do I carry poles when I do not need them?
Collapse them and slide them under the side compression straps of your pack, or use a dedicated pole attachment if your pack has one.
For short stretches, carry both in one hand with the tips pointing down and slightly forward.
Find Your Rhythm
Trekking poles work best when they fit your body and the terrain.
Set them at elbow height, adjust for climbs and descents, use the straps to take strain off your hands,
and unstrap wherever a fall is possible.
Practice on an easy trail first, and the poles will soon feel like a natural extension of your stride.
Sources and Further Reading
This article was reviewed by the BraverPlay editorial team against the official sources below. Rules, conditions and gear vary from place to place, so always check the latest guidance from local authorities before you head out.
- How to Use Trekking Poles, Washington Trails Association: Sizing poles with elbows at 90 degrees, shortening them uphill and lengthening them downhill, entering the straps from below and unstrapping on rough ground.
- Backcountry safety - Jasper National Park, Parks Canada: Crossing streams at a wide, shallow point and bracing against the current with a pole while facing upstream.