
Anúncios
Hills are where hikes are won and lost. Climbs leave you breathless, and descents often do the real damage,
leaving you with tired thighs and aching knees long after the summit view has faded.
Much of that strain comes down to technique. How you pace a climb,
Anúncios
where you place your feet and how you control your body on the way down all change how much work your legs and joints have to do.
These methods can make hills feel easier and help protect your knees for years of hiking.
Why Hills Are So Demanding
Going uphill is mainly a test of your heart, lungs and leg muscles, which have to lift your body and pack with every step.
It is tiring, but it is usually gentle on your joints.
Going downhill is a different kind of work.
Your thigh muscles have to act as brakes, lengthening under load to control each step,
while your knees absorb the impact of your body dropping down.
That braking effort is a major reason your legs can feel sore for days after a big descent, even when the climb felt fine.
Climb at a Steady, Sustainable Pace
The biggest mistake on climbs is starting too fast. Choose a pace you could keep up for a long time,
where your breathing is deep but controlled and you could still speak in short sentences.
If you need to stop every few minutes to catch your breath, slow down,
because a steady crawl gets you to the top faster than repeated sprints and rests.
Shorten your stride as the slope steepens, like shifting into a lower gear on a bike.
Try matching your breathing to your steps, such as one breath for every step or two, to settle into a rhythm you can hold.
Try the Rest Step
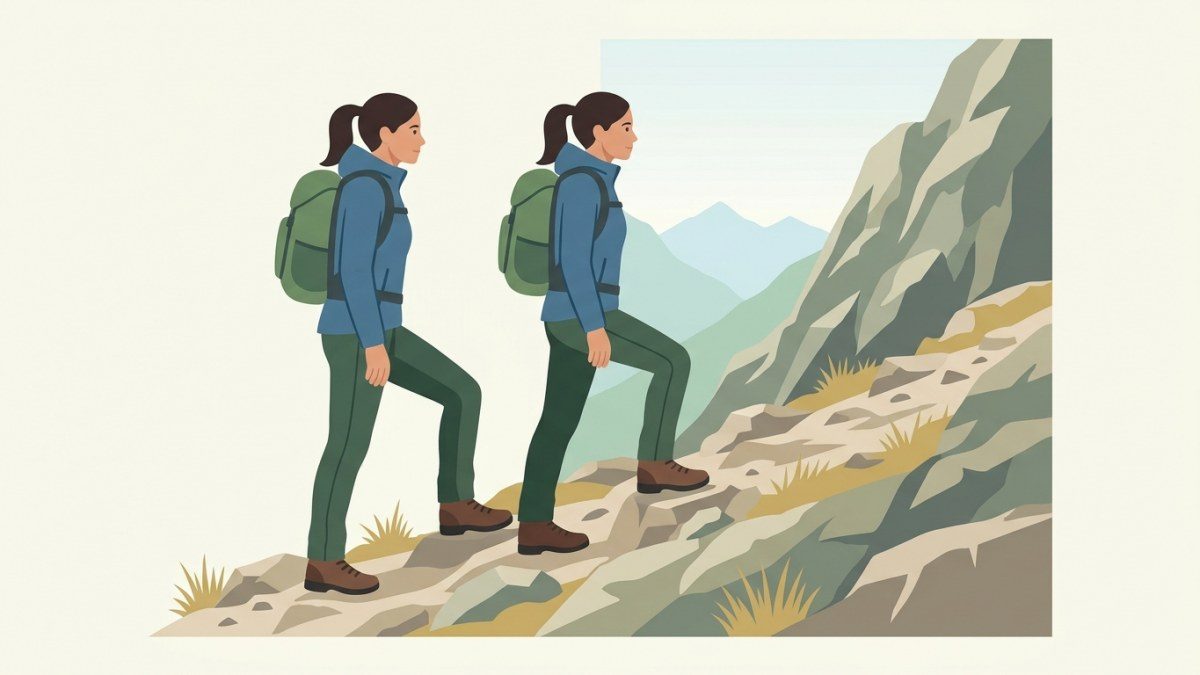
The rest step, borrowed from mountaineering, gives your muscles a tiny break with every stride on long, steep climbs.
As you step up, briefly straighten your back leg so your weight rests on your skeleton instead of your muscles.
Pause for a split second, then move the other foot forward and repeat.
It feels slow at first, but it lets you climb for long stretches without burning out.
Smart Foot Placement on the Way Up
Where your feet land matters as much as how fast you walk. A few habits save a lot of energy:
- Keep steps small: Take two small steps instead of one big one on rock staircases and boulders, which reduces strain on your knees and hips.
- Use the whole foot: Place your foot as flat as the ground allows, which gives more grip and eases strain on your calves.
- Follow the switchbacks: They exist to make the grade manageable. Cutting straight up a slope is steeper, harder and causes erosion.
- Zigzag on wide, open slopes: Where there is no trail to follow and travel is allowed, a gentle diagonal line is easier than going straight up.
- Step on stable surfaces: Choose solid rocks and firm ground, and test loose stones before trusting your weight to them.
Descend With Control
Good downhill technique is about control rather than speed. Keep your knees slightly bent and soft,
so they act like shock absorbers instead of locking straight with each step.
Take short steps, keeping your feet under your body rather than reaching far ahead.
Resist the natural urge to lean back.
Leaning into the hill shifts your weight onto your heels, which can make your feet slide out from under you.
Instead, keep your weight over your feet, with your hips and shoulders roughly above them, and your eyes scanning a few steps ahead.
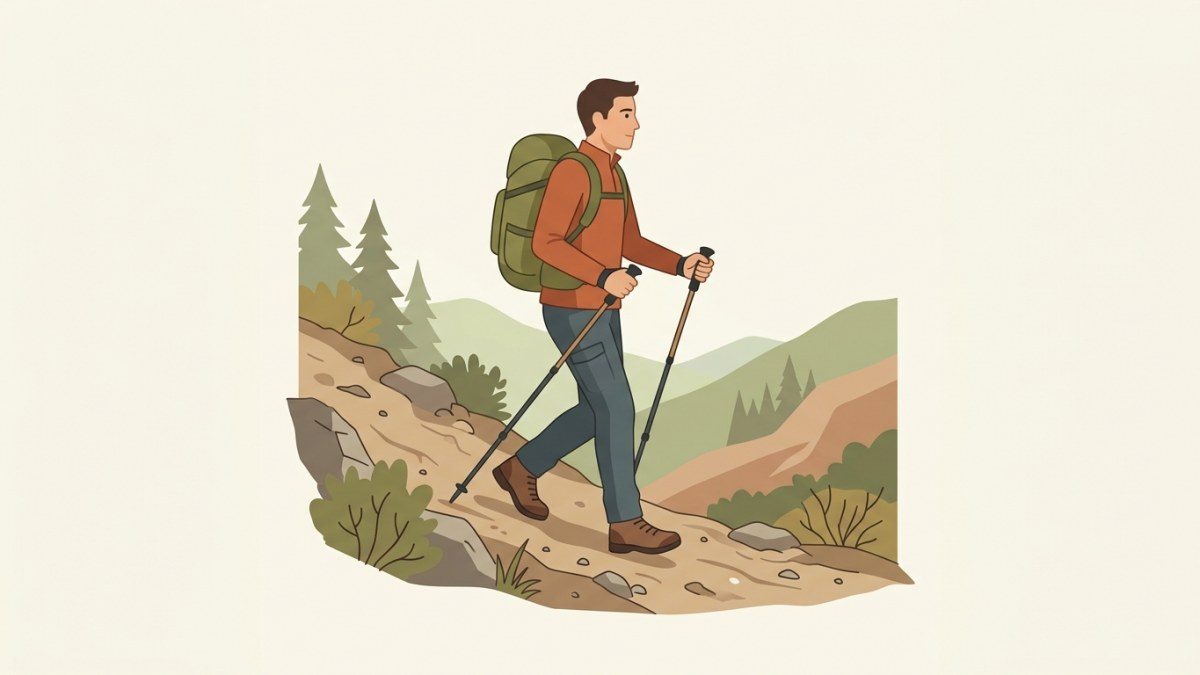
Walk down at a pace that feels almost too slow, especially on wet rock or steep sections.
Bounding downhill might feel fast and fun, but it increases the impact on your knees and the risk of a fall.
On very steep ground, angle your body slightly sideways and step down with your feet turned across the slope,
and for the steepest drops, face the slope and climb down as you would on a ladder.
Loose Ground and Scree
Small pebbles on hard-packed trail act like ball bearings under your shoes.
Step on bare patches, embedded rocks or the rougher edges of the trail where your soles can grip.
On soft dirt and fine gravel, short, deliberate steps with your weight centered give you the most control,
and a slight sideways angle helps you catch a slide before it starts.
Let Your Gear Help
Trekking poles are one of the most effective tools for sparing your knees on descents.
Lengthen them slightly, plant them ahead of you, and let your arms take some of the load.
On climbs, shorter poles let your arms help push you upward.
Before a long descent,
retie your laces a bit more snugly so your foot does not slide forward and your toes do not jam into the front of your shoe.
Footwear with good traction and cushioning also makes a noticeable difference on long downhill stretches.
Pace Your Energy Across the Day
Many falls and knee problems happen late in the day, when tired legs lose their precision.
Eat and drink before starting a long descent, not just at the top of the climb,
and take short breaks on the way down if your legs start to shake or feel wobbly.
Avoid the temptation to rush down to make up for lost time.
If you are running late, the answer is an earlier turnaround next time, since hurrying on a descent only adds risk.
After the hike, gentle stretching and an easy walk the next day can help ease soreness.
Build Strength and Balance at Home
Strong muscles protect your joints on the trail, and two or three short sessions a week can make hills feel much easier.
Useful exercises include:
- Step-ups: Step onto a sturdy box or stair with one foot, stand tall, and control the lowering too.
- Slow step-downs: Stand on a step and slowly lower one heel toward the floor, keeping your knee in line with your toes. This trains the braking strength you need on descents.
- Squats and lunges: Build strength in your thighs and hips.
- Glute bridges: Strengthen the hips, which help keep your knees tracking well.
- Calf raises: Prepare your lower legs for long climbs.
- Single-leg balance: Stand on one foot for 30 seconds or more, then make it harder by closing your eyes or standing on a cushion.
Hiking regularly on hilly trails, with gradually bigger climbs, is the best training of all.
If you have existing knee pain or a past injury, talk to a doctor or physical therapist before starting a new program.
Know When to Stop
Normal muscle soreness is part of hiking, but some pain is a warning.
Sharp pain in or around the knee, swelling, a feeling of the joint locking or giving way,
or pain that gets worse with every step are signs to slow down,
rest and head back by the easiest route.
Get these symptoms checked by a medical professional rather than pushing through them on your next hike.
Save Your Knees for the Long Haul
Hills become far more manageable with the right technique.
Climb at a steady pace with short steps, use the rest step on long ascents,
descend slowly with soft knees and your weight over your feet, let poles share the load,
and build strength at home. Your knees will carry you farther, and for many more years.
Sources and Further Reading
This article was reviewed by the BraverPlay editorial team against the official sources below. Rules, conditions and gear vary from place to place, so always check the latest guidance from local authorities before you head out.
- How to Use Trekking Poles, Washington Trails Association: Trekking poles taking some of the load off your legs on climbs and descents, shortened for uphills and lengthened for downhills.
- Hiking Tips - Hike Smart (Hawaiʻi Volcanoes National Park), U.S. National Park Service: Hiking at a pace that lets you walk and talk, with small steps on steep trail, so your energy lasts all day.
- Knee exercises for runners, NHS: Squats and lunges with knees in line with the toes to strengthen the muscles around the knee, checking with a doctor first if you have a knee injury.
- Knee pain, NHS: When knee pain needs medical advice, such as a very painful or badly swollen knee, or one that locks or gives way.